Blog post by: Elizabeth Kim
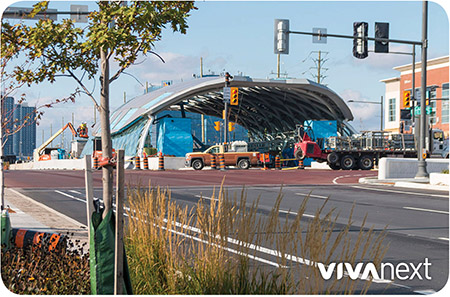
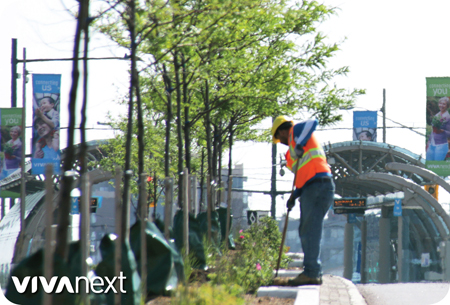
Despite wavering weather from Mother Nature, crews have been busy with a number of work activities across each of our construction projects in Richmond Hill, Newmarket and Vaughan.
If you’ve been out driving or walking along these projects, you may feel that construction can sometimes be messy, chaotic, and never-ending. Although all this work may appear identical, there are actually a number of construction activities underway, many of which require specialized crews. But, before work starts on each of rapid transit projects, there’s careful planning that goes on behind the scenes.
vivastations
There are many steps in building each of the iconic vivastations across our projects, all which are carefully planned to ensure work can get completed efficiently, while ensuring everyone – pedestrians, motorists and construction workers – remain safe. When complete, transit users will be able to enjoy new technology and innovative features that each vivastation offers.
Building a vivastation is sort of like putting together the pieces to a puzzle. Each step carefully lays the foundation for the vivastation, prioritizing consistency, quality, and safety.
As the year progresses and work on our vivastations begins to unfold, keep your eyes out for each of the following steps that go into building a vivastation!
1. Excavation, caisson drilling, and finishing
After the existing asphalt and road base is removed in preparation for construction, circular caissons are drilled 8 to 10 meters (26 to 32 feet) into the ground. Caissons are reinforced concrete columns placed below ground that act as the foundation for platforms. First, a large drill is used to create a deep hole for the column. Next, a steel rebar cage is placed in the drilled hole. Finally the hole is filled in with concrete.
2. Platforms, barrier walls are formed, poured, and cured
Once the caissons are installed, the concrete station platform and barrier walls will start to take shape. A concrete slab reinforced with steel is built on top of caissons to serve as the platform for vivastations. Concrete for the barrier walls are then formed, which provide delineation between the vivastation and live traffic, making them a key safety feature of every vivastation.
Prior to the installation of the barrier walls, electrical conduits are placed within the steel rebar cage. Plywood forms are used as a mold for the walls and are placed around the rebar. Concrete is poured into the forms to create the barrier walls. Once the concrete is hardened, the forms are removed and the barrier walls are smoothed out to remove any surface imperfections.
3. Steel erection
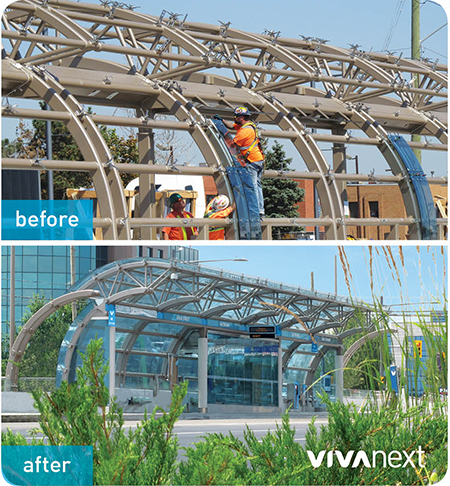
A steel skeleton – prefabricated offsite and transported by trucks – is then erected on the concrete barrier walls. Prior to delivery to the site, the steel canopy is painted with a resin coating, in a champagne bronze colour.
These structures are raised into place by a large crane with careful maneuvering and precision. Lanes are often reduced around the vivastation during this procedure to ensure pedestrians, motorists and crews remain safe.
4. Glass installation
Each of our vivastations use tempered glass, which contains properties that strengthen the glass, ultimately creating a safe and durable structure that covers the exterior of the vivastation.
The glass is pre-cut and tinted prior to delivery to the site. Construction crews then carefully place the glass onto the canopy, creating our beautiful, signature blue vivastations.
5. Tile work on platform
Tile work is then done on the platforms, including tactile tile work at every vivastation. These tactile tiles are either cast iron or porcelain plates – depending on the construction project – that act as a textured ground surface indicator. These tiles are able to assist pedestrians and passengers who are visually impaired effectively navigate the surrounding environment.
Similar to our bus stops, we install directional tiles at every vivastation platform. Directional tiles are brown, textured tiles that help to assist visually impaired pedestrians and passengers in determining accurate direction of travel.
6. Electrical and IT systems
The installation of electrical and IT (Intelligent Transportation) systems are spread out throughout the whole construction process. However, most of this work happens close to when the vivastations will be completed. Security and PA systems, emergency call boxes (ECB), lights, and motion-activated heaters within the enclosed waiting area are installed, along with PRESTO/VIVA fare vending machines.
7. Fixture installation
Fixtures common to every vivastation are installed. These include, but are not limited to, garbage and recycling bins, handrails, doors, signs, and benches, signaling that the rapidway will soon be open for service.
building transit for the future
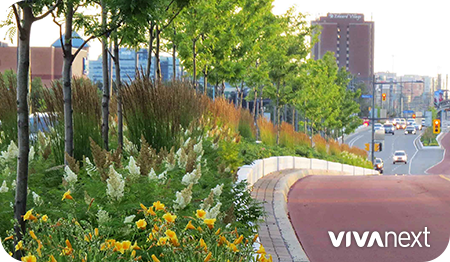
It takes time to build transit that will have a lasting impact on generations to come. Our construction projects are about more than just dedicated lanes for bus rapid transit – they’re about connecting people and places, and providing complete streets for the entire community to benefit from. Complete streets provide economic, environmental and social benefits that lead to an overall improvement in quality of life.
Transit riders, residents and businesses are best served when transit works as an integrated system. It’s crucial for transit services to work together as a well-planned network, connecting different modes of transportation and destinations. And we’re proud that our vivastations play an integral role in connecting the community in a faster, more efficient way.
STAYING INFORMED
Make sure to connect with us on social media to receive regular construction updates and stay in touch! The best way to stay informed about our construction projects is to sign-up for email notifications at vivanext.com/subscribe, and to follow us on our social media platforms.

